Creating HDRs in Kanazawa

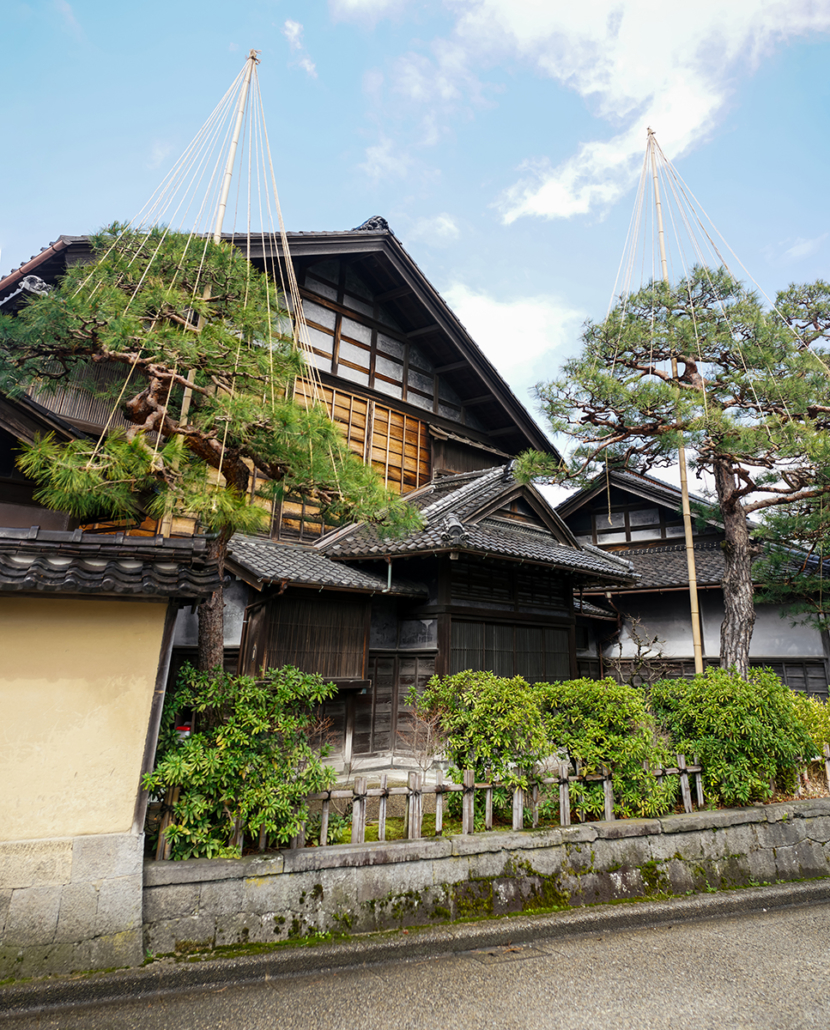
At the beginning of 2020, I had the opportunity to take a trip to Kanazawa city in Ishikawa prefecture. I had spent almost decade living in that area. It’s a stunningly picturesque area, when it’s not raining. Joking aside, I spent almost a decade living in and photographing Kanazawa.
During my years in Kanazawa, I switched to shooting digital. I was something of a film purist and was quite stubborn about switching over. I spent my entire youth shooting with Minolta, so when I learned that Sony had purchased the company, I decided this was the opening I was looking for. Basically, Sony just kept building Minolta models with a Sony sensor inside.
If you want to skip all technical stuff and get right to the photo album, just click here to warp to the bottom.
If you would like to read a more in-depth account of this trip, you can find it on our travel website here.
Time & Experience
Looking back at the photos I shot in that time period, I can see the limitations of digital technology. There were limitations in my abilities, as well. Over the last 15 years, cameras have gotten much better. Editing software has also come a long way. Last but not least, I’ve learned a tremendous amount about shooting.
My trip to Kanazawa gave me a wonderful opportunity for a ‘do over.’ I had two locations in mind.
Technical Comparison
The first place I wanted to re-shoot was Higashi Chaya, the geisha district. I wanted to do night shots because during the day it’s full of tourists.
The photo from 2008, but proceed with LightRoom in 2019. Generally, it is really grainy and unclear. The highlights are completely blown out, with no details. The shadows are muddy and blurry.

It was shot with the Alpha 100 with the kit lens at 18mm. The aperture was set to f5.6 with an exposure time of 1 second at ISO 1600.

The photo taken in 2020 is far cleaner looking. There are lots of details in the highlights. Look at how great the street lamps came out! There no graininess in the shadows and blacks. There is even some details from the clouds in the sky. Unlike the photo from 2008, which is just a mush of color, there is superb color separation, especially between the different shades of orange.

It was shot on the Alpha a99ii, with 35mm Sigma Art lens. That aperture was to f5.6 with ISO of 400. Since this is an HDR (more about that below), there were 4 exposures shot between 30 seconds to 4 seconds.

The second area I wanted to photograph again was a hidden alleyway, Chuo Mishoku-gai, that hosts a dozen or so tiny bars. I also wanted to shoot this at night because that is when it looks most interesting. Seeing it in the naked light of day just doesn’t hold any charm.
The original photo is from 2007, and is a bit clearer than the shot of Higashi Chaya from 2008.

This was shot with the Alpha 100 with the kit lens at 18mm. The aperture was set to f8 with an exposure time of 2.5 seconds at ISO 100. The lower ISO clearly helped create a far less grainy print. The highlights are still completely lost. The shadows, however, are not too bad, but there is some graininess there. Like the print from Higashi Chaya, I re-edited this in LightRoom in 2019.

The photo taken in 2020 is much sharper. The highlights are much more controlled and look quite a bit clearer. The blacks and shadows are deeper, with far less grain, creating a much more satisfying contrast. The reds, in particular, look much better.

It was shot on the Alpha a99ii, with 35mm Sigma Art lens. That aperture was set at f4 with ISO of 100. It is also an HDR, with 9 exposures ranging between 6 seconds to 1/10 of a second.

Why Make an HDR
HDRs (High Dynamic Range) are multiple exposures that get combined to create a more flexible exposure. This will allow a photo editor more freedom with controlling highlights and shadows. The final print will have cleaner blacks and far more details in the bright areas. They work particular well when doing night photography, since there is a far great range between the darks and lights.
HDRs have gotten a negative reputation over the last few years in the photo community. Partly this might have to do with the technique being over used. It could also be argued that there has been a tendency with some photographers to create very extreme and unnatural looking prints when using this technique. If it’s done right, it can be starkly beautiful. When it’s done poorly, it creates a startling effect, which is a big turn off.
Clearly, HDRs can also look very natural, if an editor shows some restraint. I personally have nothing against unnatural HDRs, but I strive to create something more in line with how I remember seeing it.
How to Make an HDR
If you’re interested in making HDR prints, you’re in luck. They are fairly easy to do. You will only need a tripod, a camera with manual settings, and some editing software.
Set up your camera and tripod. If your camera has a histogram, you should be using it. Set a low ISO. ISO 100 would be best as this will help create the cleanest image possible. Set your aperture. Most lenses create optimal image quality between f4 to f8, so aim for that area. Finally, set your shutter speed. You will be changing your shutter speed to create different exposures. Using the histogram, reduce the shutter speed until there is nothing in the highlight area (the far right). Make your first exposure. Next, double your shutter speed and make another exposure (if your exposure time was 10 seconds, double the speed to make it 5 seconds). Keep doubling your shutter speed until there is no more information in the shadow area of the histogram (the far left).
Most modern photo editing software is fully equipped to make HDR prints. The process is automatic, but you will need to do some editing to get the results you desire. The process in Adobe LightRoom is fairly painless.
Photo Album
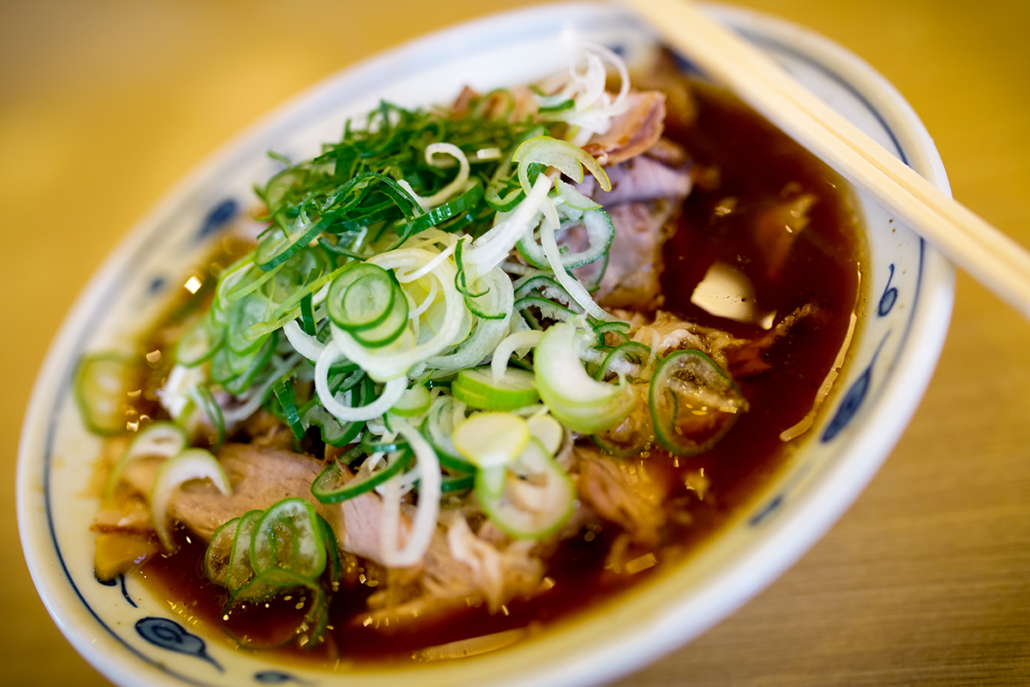
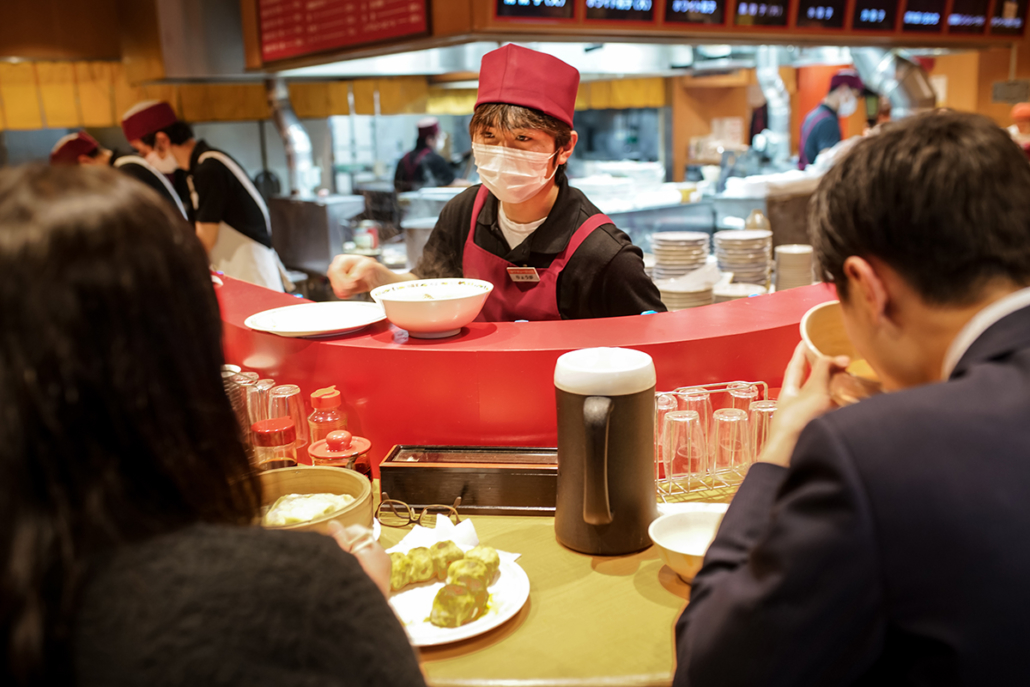
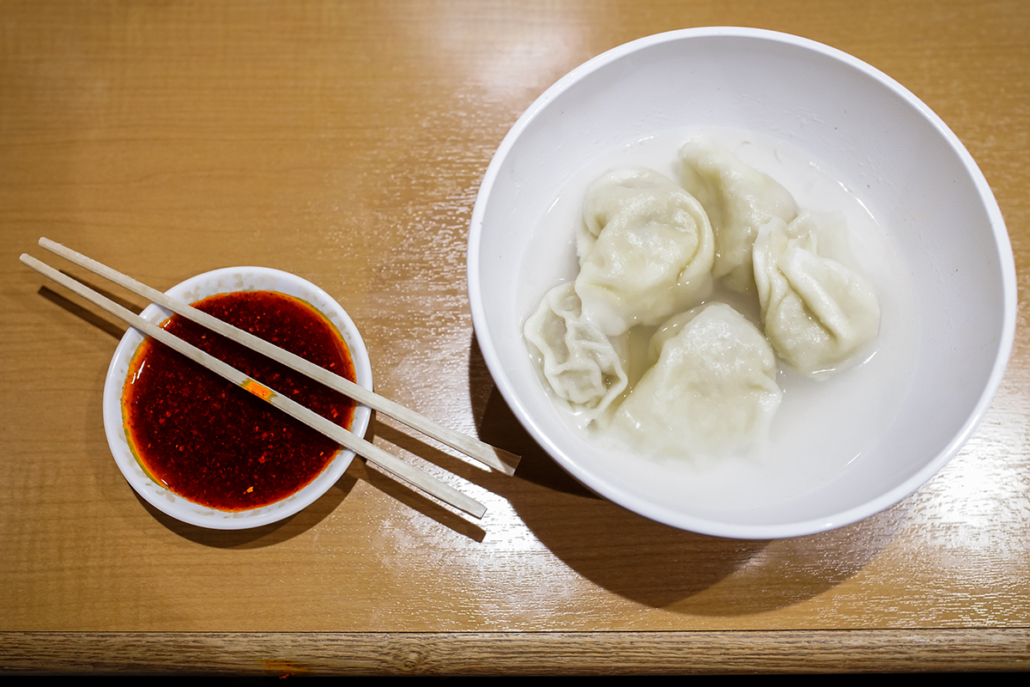
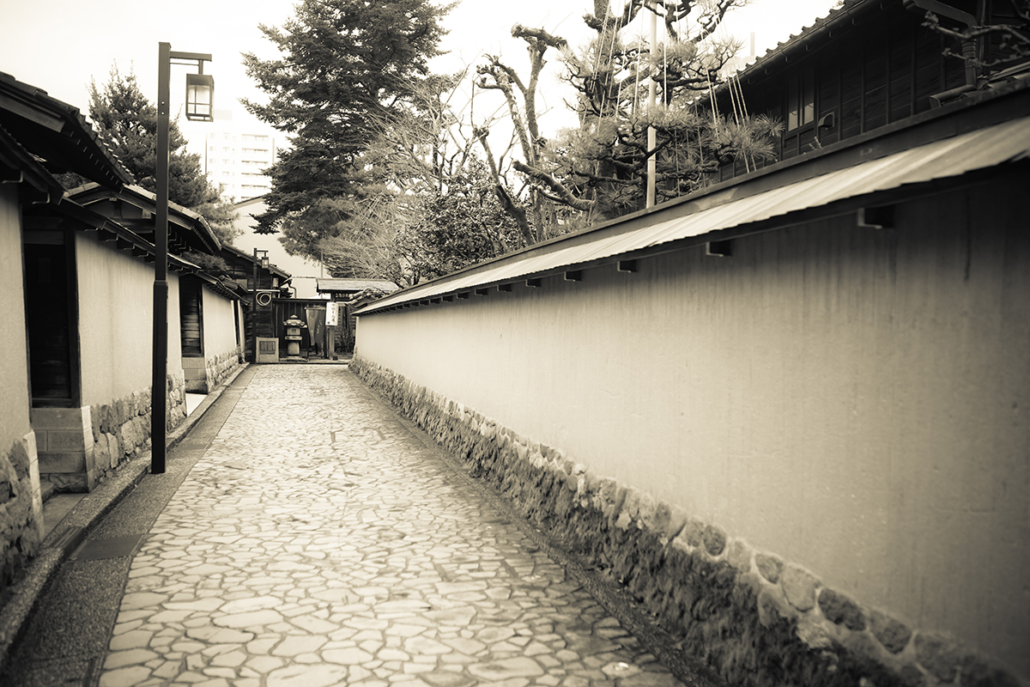
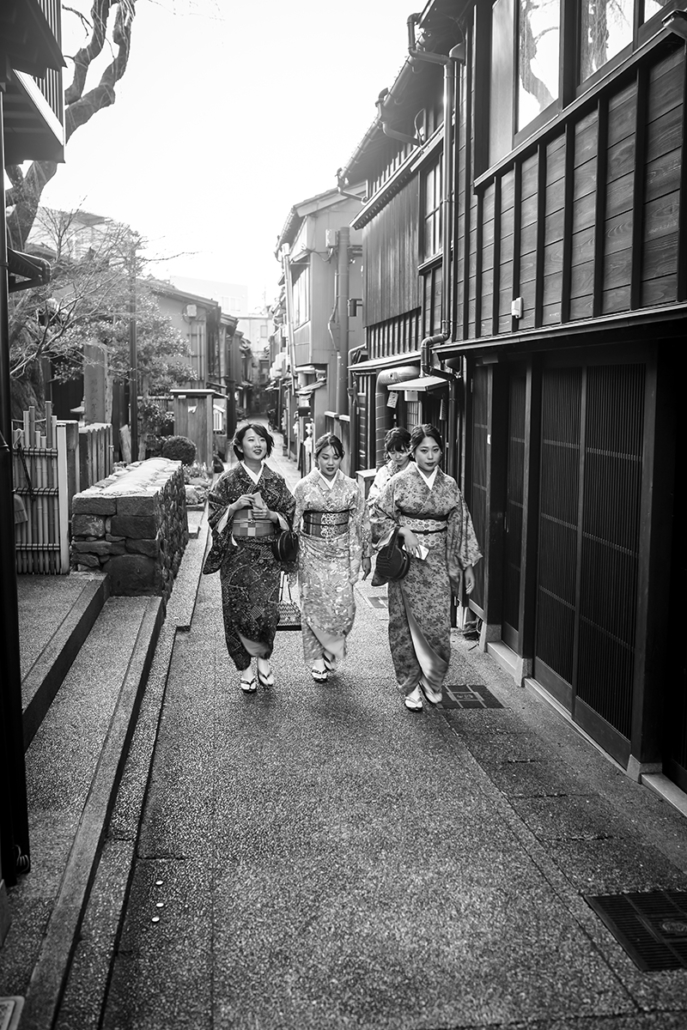
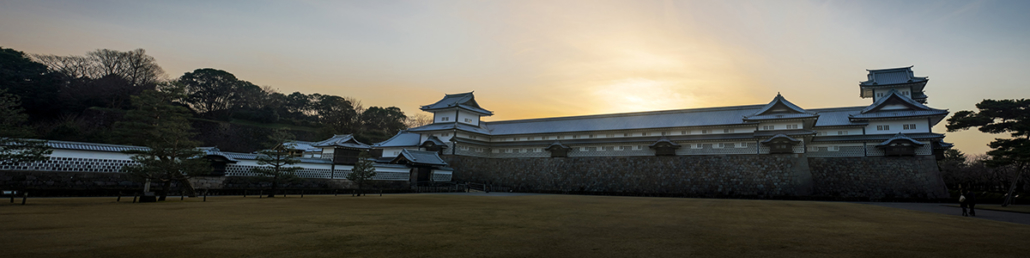
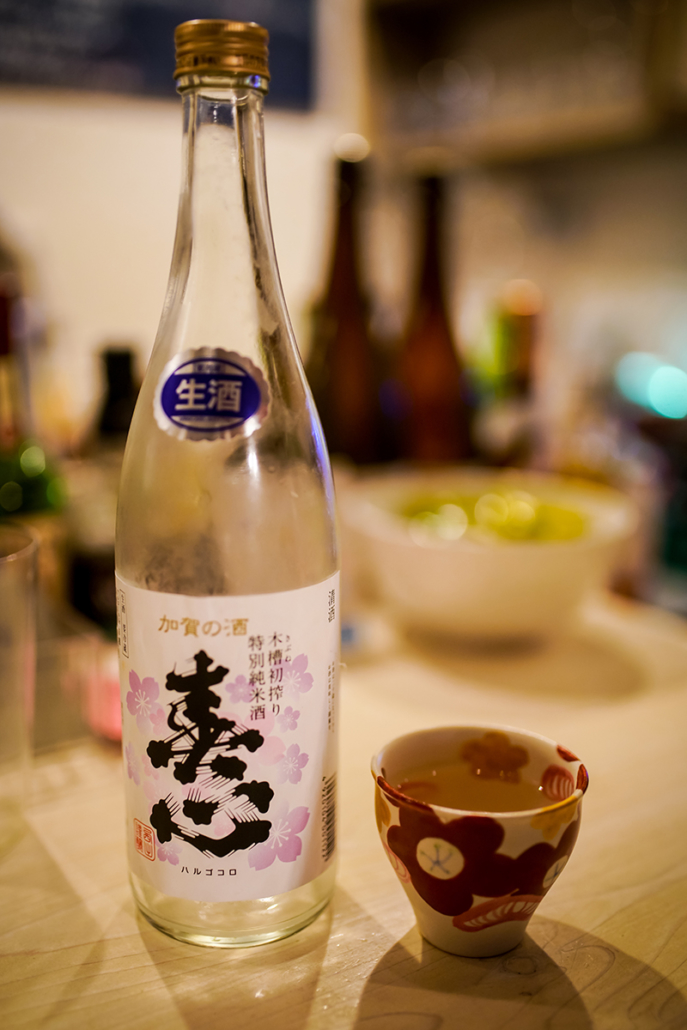
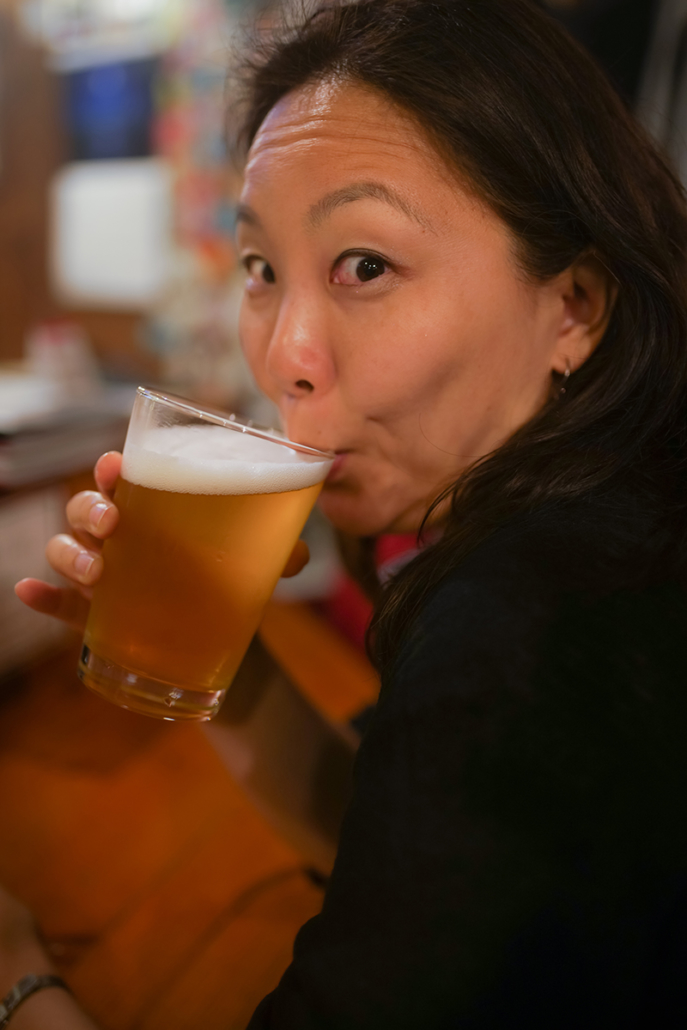
Here are 25 of my favorite shots from the trip.


")


")


Trackbacks & Pingbacks
[…] you would like to see more photos from this trip, head over to our sister […]
Comments are closed.